Olegature Custom Sizing Instructions
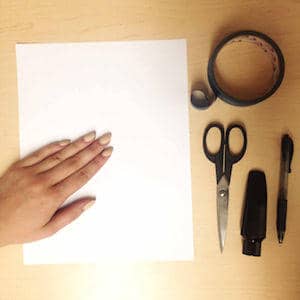
Materials: Masking tape, ball point pen, paper, mouthpiece and scanner or camera.
Materials Needed:
- 4-5 inches of standard 1-inch masking tape
- Regular ball point pen
- Sheet of regular US letter paper (standard 8.5” x 11” size)
- Your mouthpiece
- Scanner or camera (smartphone cameras OK)
Note: If you do not have access to standard 1-inch masking tape please tell us the width of the tape you have used. Please note that blue painter’s tape (like the one being used for these instructions) is typically .94 inches wide, not 1-inch wide. It’s ok to use tape like this, as long as you notify us your tape’s dimensions. This is very important to make sure we get the correct proportion for your custom size.
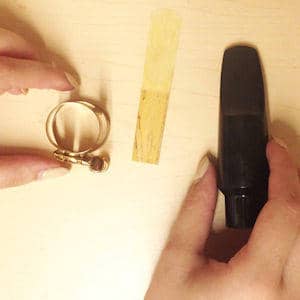
Step 1: Remove the reed and ligature.
Step 1: Remove the reed and ligature
Remove the ligature and reed from your mouthpiece. Do NOT take the measurement with the reed on; this will produce inaccurate results.
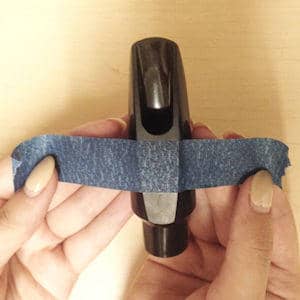
Step 2: Make sure the tape is exactly perpendicular to the reed table.
Step 2: Align the masking tape to the back of your mouthpiece.
IMPORTANT: make sure it is exactly perpendicular (at a 90-degree right angle) to the reed table.

Step 3: Wrap the tape around the mouthpiece.
Step 3: Wrap the tape around the mouthpiece
Wrap the masking tape around the mouthpiece. The ends of the tape should overlap EXACTLY in the center of the mouthpiece. If they meet off-center, repeat Step 2 and make sure the tape is positioned exactly perpendicular to the reed table.
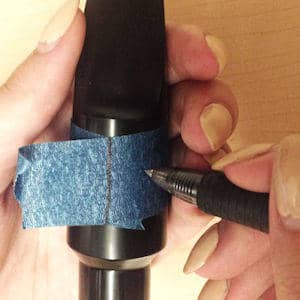
Step 4: Make a line down the center.
Step 4: Make a line down the center
Use a ballpoint pen to mark a straight line down the center of the tape where the two ends overlap. Do not use a sharpie or thick marker as you need this line to be precise.
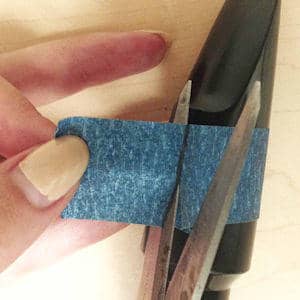
Step 5: Cut along the pen mark.
Step 5: Cut along the pen mark 1
Lift up the layer of tape with your pen mark. Use the scissors to cut along the pen mark.
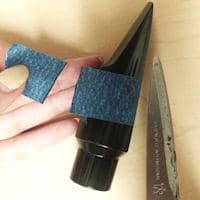
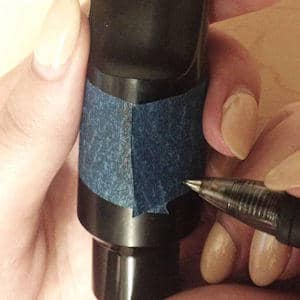
Step 6: Trace the edge you just cut.
Step 6: Trace the edge you just cut
Wrap the tape back onto the mouthpiece. Smooth the tape down to make sure it lays completely flat. Use the pen to trace the cut edge onto the second half of the tape.
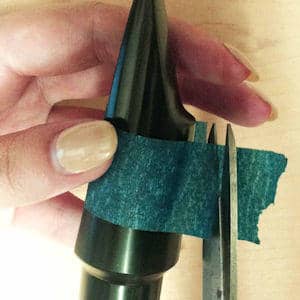
Step 7: Cut along the second pen mark.
Step 7: Cut along the second pen mark.
Lift up both layers to tape. Use the scissors to cut along the second pen mark.
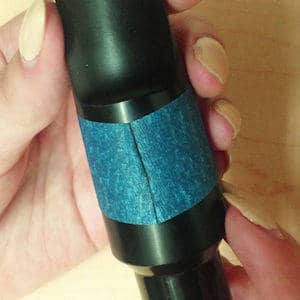
Step 8: Check to make sure edges
of tape align correctly.
Step 8: Center the two halves.
Check to make sure the two halves of the tape meet precisely in the center of the mouthpiece. If they do not touch, overlap, or are uneven, start over until you get precise results. As you can see in this example picture, the “V” where the two ends of the tape meet is slightly off-center, and will produce bad results.
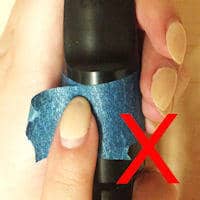
Step 8: Make sure the tape meets at the center, not off to the side.

Step 9: Stick the tape to a piece of
standard US Letter Paper.
Step 9: Stick the tape to a piece of standard US Letter Paper.
Remove the tape from your mouthpiece. Stick it to a sheet of regular US letter paper (standard 8.5” x 11” size).
IMPORTANT: Check to make sure your tape is an EVEN TRAPEZOID. If one side is sloped more than the other, start over. You may have this problem if the tape was not positioned perpendicular to the reed table (see step 2). This is critical to getting an accurate measurement.
IMPORTANT: You MUST use standard US letter paper in order for us to get precise results. This is the size of paper you can commonly find in home or office printers. This is how we correct for image skewing problems that scanners or cameras may have. Do NOT cut, fold, or wrinkle the paper.
Note: If you live in a country that does not use US letter paper, you are welcome to use a different size. Just be sure to tell us the type and dimensions of the paper (for example, standard A4 paper measuring 210mm x 297mm).
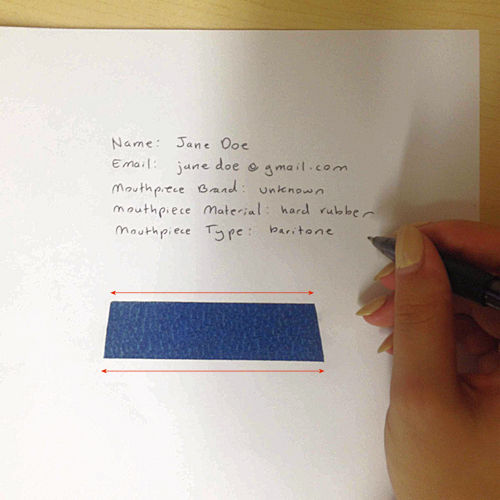
Step 10: Write your information on the paper.
Step 10: Write your information on the paper.
Write the following information on the paper:
- Name
- Email Address
- Mouthpiece Brand
- Mouthpiece Type (Soprano, Alto, Tenor, etc)
- Mouthpiece Material (Metal, Hard Rubber, etc)
- Measurements of each long side of tape – see red arrows on picture
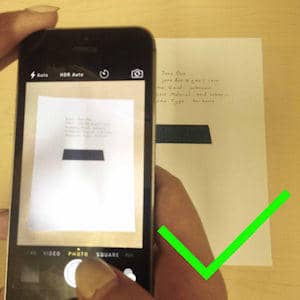
Step 11: Write your information on the paper.
Step 11: Photograph or scan the paper.
Scan or photograph the entire sheet of paper. Make sure the entire paper is in the image. Do not zoom in or crop.
Note: If you do not have a scanner or camera, you can mail your paper directly to us. Check out our Contact Us page for our mailing address information.
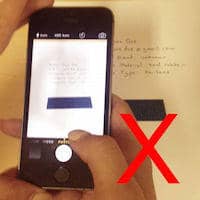
IMPORTANT: Do not zoom in or crop the photo.
We need the entire sheet of paper to appear in the image in order for us to process your image correctly.
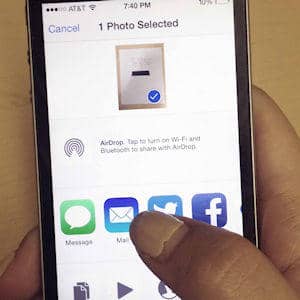
Step 12: Email Us the Image.
Step 12: Email Us the Image
Email the image to us with a note about your Custom Olegature request.
